Configure Firebase
Prerequisite
- Install the following:
- Xcode 12.2 or later
- CocoaPods 1.10.0 or later - Set up a physical iOS device or use the iOS simulator to run your app.
Reminder
Your project must target iOS 10 or later.
Configure Firebase project and API key
To begin, configure your Firebase Cloud Messaging (FCM) account to receive messages and push notifications.
Next, configure your Firebase project and obtain the API key and Sender ID.
- To authenticate a service account and authorize it to access Firebase services, you must generate a private key file in JSON format:
- In the Firebase console navigate to Settings > Service Accounts
- Click Generate New Private Key, and then confirm by clicking Generate Key
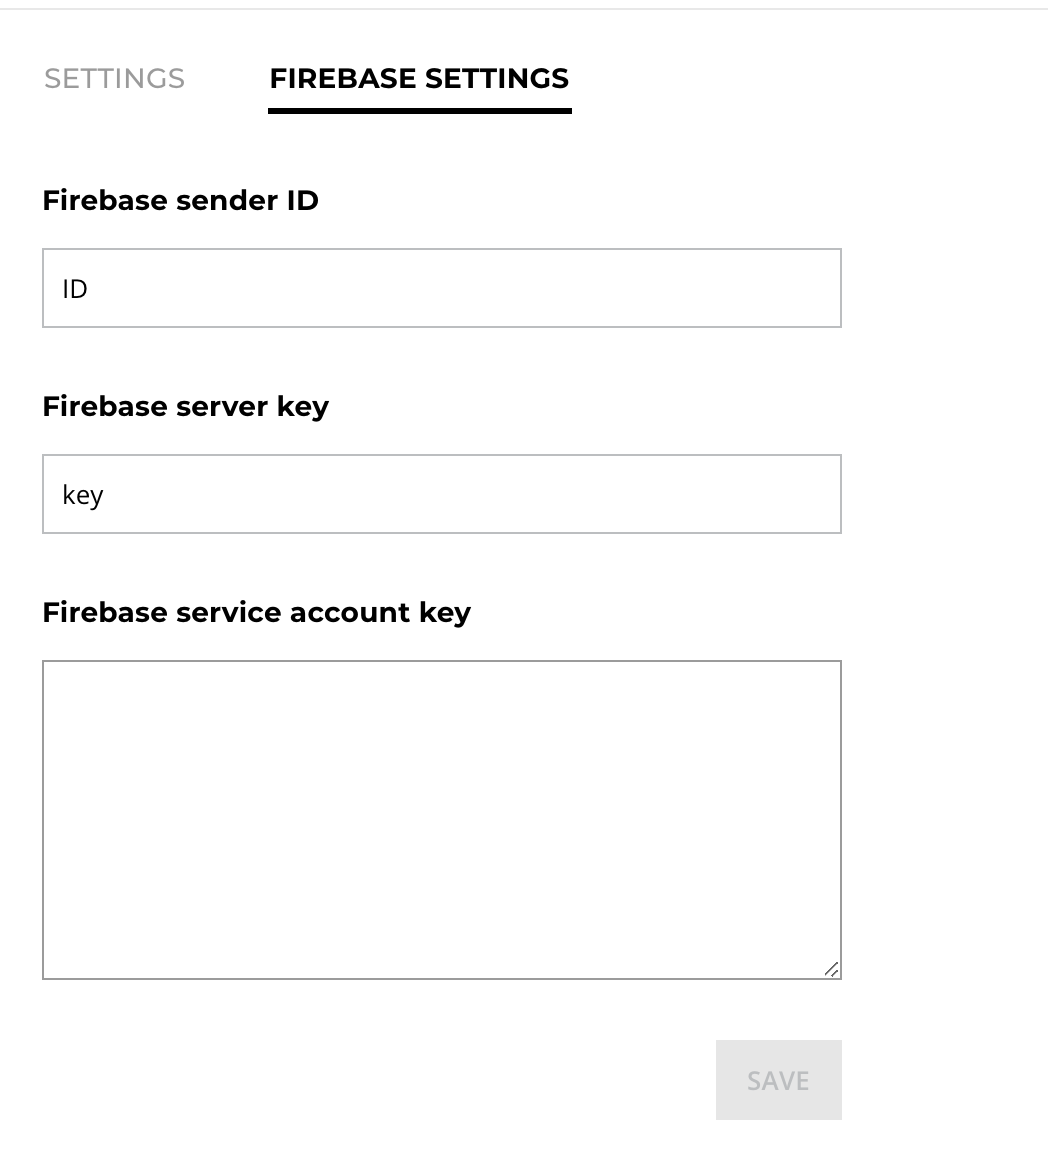
- Securely store the JSON file containing the key - Copy the content of your JSON key to the Firebase service account key under the FIREBASE SETTINGS tab in the Proto AICX platform

Add Proto SDK to your iOS project
We recommend using CocoaPods to install the Proto SDK
- Create a Podfile if you don't have one.
cd your-project-directory
pod init
- In your Podfile, add the Proto pod that you want to use in your app.
# Uncomment the next line to define a global platform for your project
platform :ios, '12.0'

target 'sampleproto' do
  # Comment the next line if you don't want to use dynamic frameworks
  use_frameworks!

  # Pods for sampleproto
  pod 'ProtoChat', :git => 'https://gitlab.com/protocx/iosprotospecs.git'
end

post_install do |installer|
installer.pods_project.targets.each do |target|
    target.build_configurations.each do |config|
        config.build_settings['BUILD_LIBRARY_FOR_DISTRIBUTION'] = 'YES'
        end
    end
end
- Install the pods by running the command
pod install, then open your.xcworkspacefile to see the project in Xcode:
open your-project.xcworkspace
Updated over 2 years ago
What’s Next
