
LINE
The LINE channel allows chatbots and agents to chat with customers via the LINE Business API.
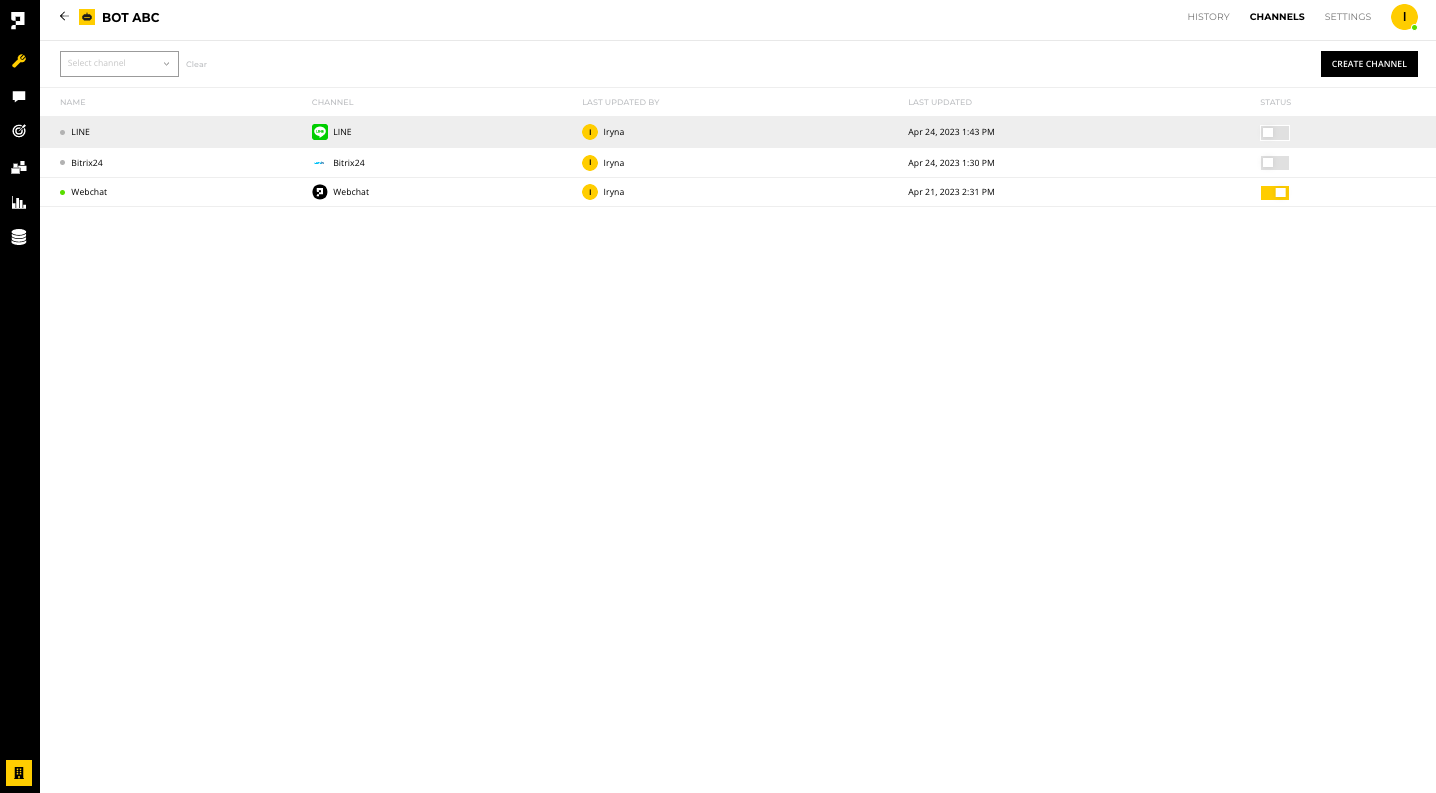
Once you add a LINE channel, click anywhere on the channel row to configure it.
Note
The LINE channel must be enabled before you test it. To enable the channel, click the STATUS toggle.
Before starting
Before starting, you must create a dedicated Messaging API channel in your LINE account.
Settings
Under the SETTINGS tab, you have the following options:
- Enable - make the channel live to the public
- Name - edit the channel name within the AICX platform
- Language - set the default language for customers using this channel
- In development - make chatbot edits live only after when the chatbot is deployed
- Channel ID and Secret - required for the deploy script
- Delete - remove the channel

Important
Once a LINE channel is deleted, you will need to update the channel webhook information on your LINE Developers Console.
Reminder
Once the channel is set to Live, please make sure you click the Deploy button every time you made changes on the bot.
Messaging API setup
There are two ways to connect your chatbot to your LINE account with a dedicated Messaging API:
- Log in to the LINE Developers Console with the email address and password of your LINE account, or with a QR Code displayed on the login screen
- Register as a developer (first login only) when you login to the LINE Developers Console and enter your name and email address to create a developer account
- Create a new provider
- Create a channel
- Confirm a channel
Tip
LINE Official Account Manager also displays the LINE Official Account that corresponds to your channel.
To link your existing LINE Official Account with the Messaging API, go to the LINE Official Account Manager and enable the Messaging API. This creates a channel.
- Enable the use of the Messaging API in the LINE Official Account Manager.
If the account you're using to login to the LINE Official Account Manager has never been used to login to the LINE Developers Console, a screen for registering developer information will appear. Next, you're prompted to select a provider to manage your LINE Official Account. If you plan to link your account to other LINE Login channels or other channels, select the same provider as the channel.
Reminder
Once you select a provider to manage your LINE Official Account, you won't be able to change or cancel the provider later. Please make sure the admin who created the provider is not removed from the account.
- The created Messaging API channel can be configured in the LINE Developers Console. Log in to your LINE Developers Console with the same account as your LINE Official Account Manager.
- Select a provider and confirm that a channel has been created.
Configuration
To configure your LINE channel:
- Get the following info from your LINE Developers Console: Channel ID, Channel secret, Access token
- Copy the required info into the LINE CONFIGURATION tab in the Proto AICX platform
- Enable the Webhook URL on your LINE Developers Console
1. Getting required info from your LINE Developers Console
- Channel ID and Secret - go to your LINE Developers Console, select the Provider, click the Channel, and then copy the Channel ID and Channel Secret


- Access token - go to the Messaging API tab on the LINE Developers Console and scroll to the Channel access token, then issue and copy your LINE channel access token

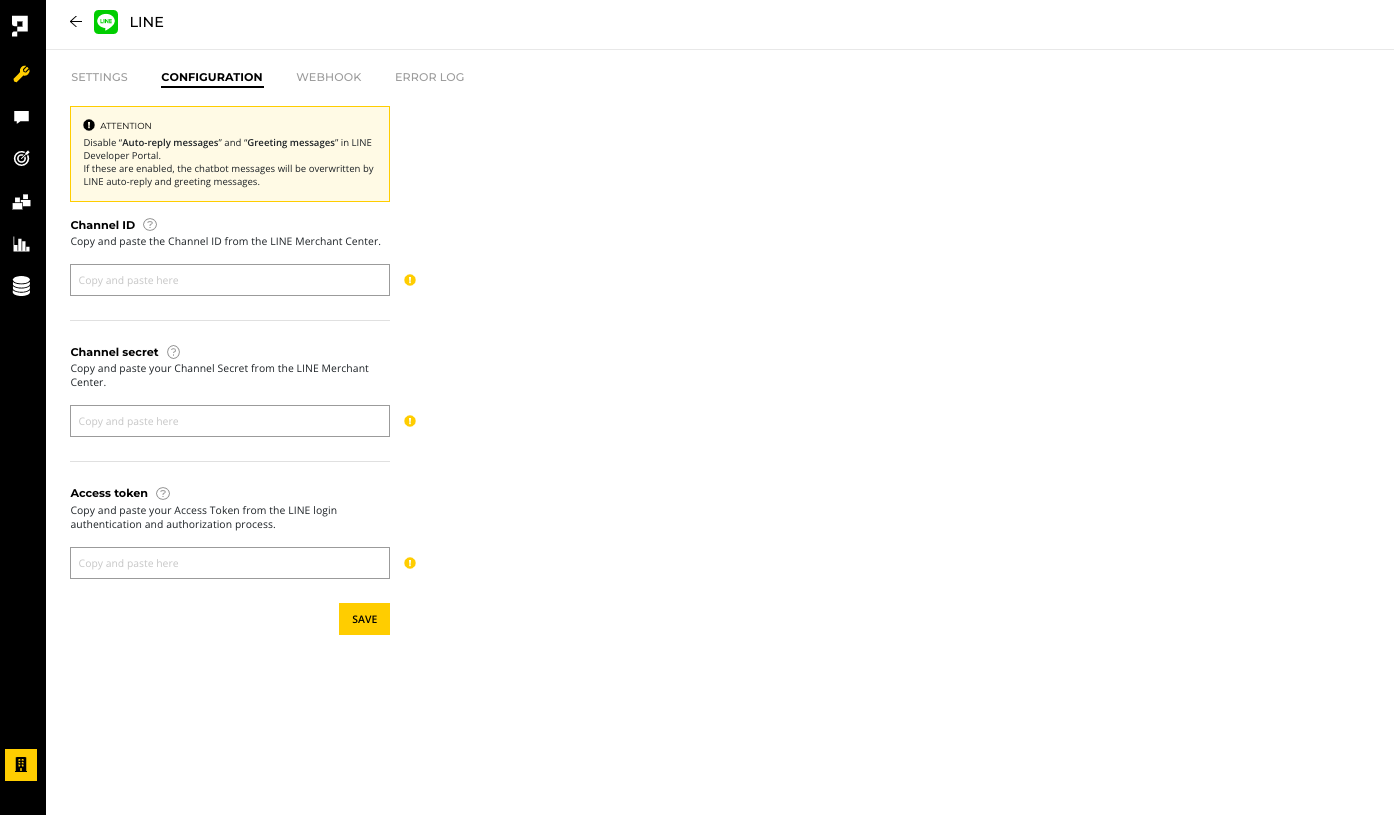
2. Copy the required info into the LINE CONFIGURATION tab in the Proto AICX platform
- Under the CONFIGURATION tab, paste the Channel ID, Channel token, and Access token
3. Enable the Webhook URL on your LINE Developers Console
- Under the WEBHOOK tab, copy the Webhook URL
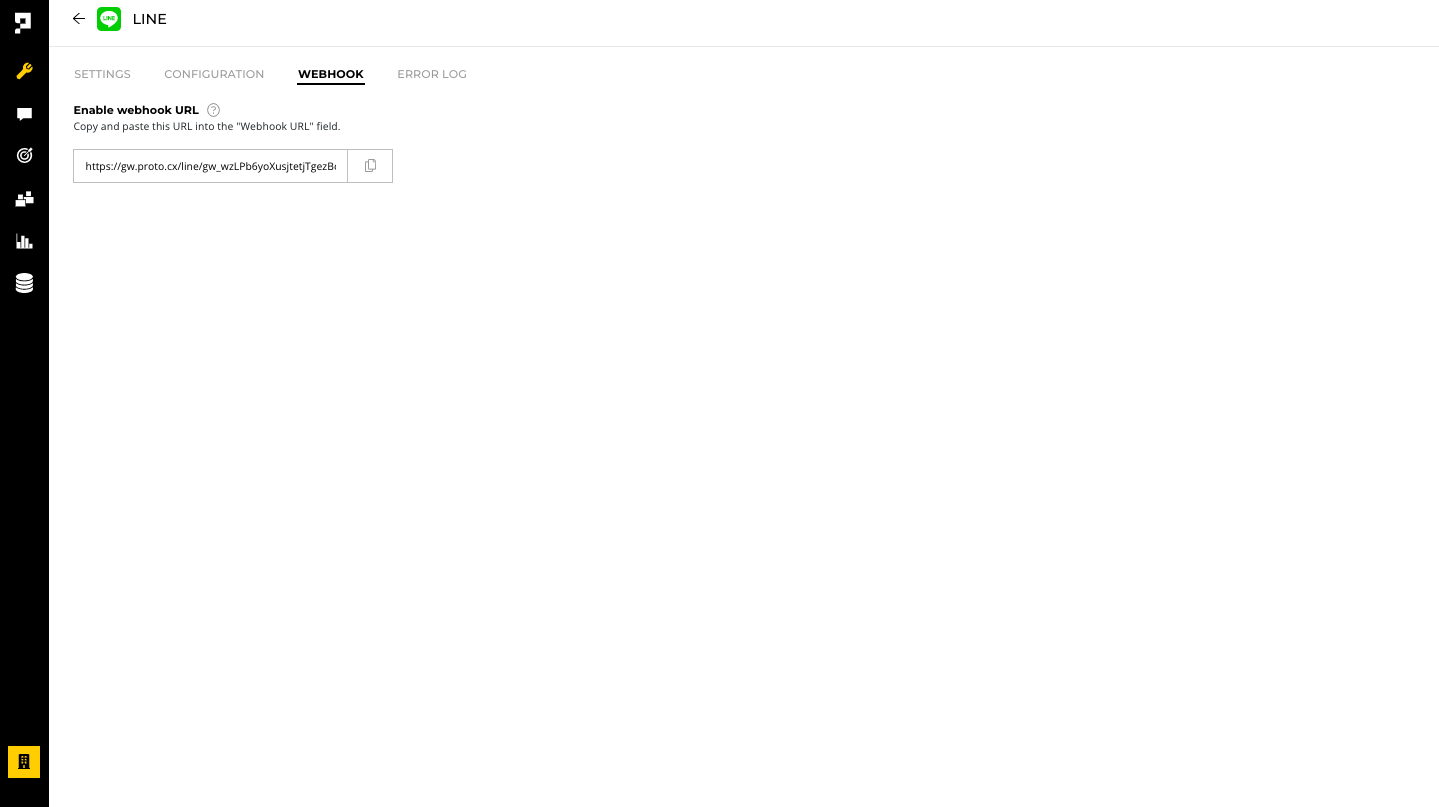
- Paste the Webhook URL into the LINE Developers Console: navigate to Messaging API tab, Webhook Settings, and then click Edit under the Webhook URL field.

Important
The Webhook URL must use HTTPS and have an SSL/TLS certificate issued by a certificate authority widely trusted by general web browsers. Also note that self-signed certificates are not acceptable. If you encounter issues related to your SSL/TLS configuration, you should check whether your SSL/TLS certificate chain is complete and whether your intermediate certificates are correctly installed on your server.
- To configure the Auto-reply messages, Greeting messages and Webhook settings, click on the Edit buttons.

You will be redirected to the Response settings page. Make sure the Response settings are set as follows:
- Chat - Enabled
- Greeting message - Disabled
- Webhooks - Enabled
- Response Hours - Enabled
- Response Method - Manual Chat


- Add the LINE Official Account associated with the channel for your chatbot as a friend on LINE. To do so, scan the QR code on the Messaging API tab in the LINE Developers Console.

Updated over 1 year ago