
Zalo
The ZALO channel allows chatbots and agents to chat with customers via the Zalo Official Account.
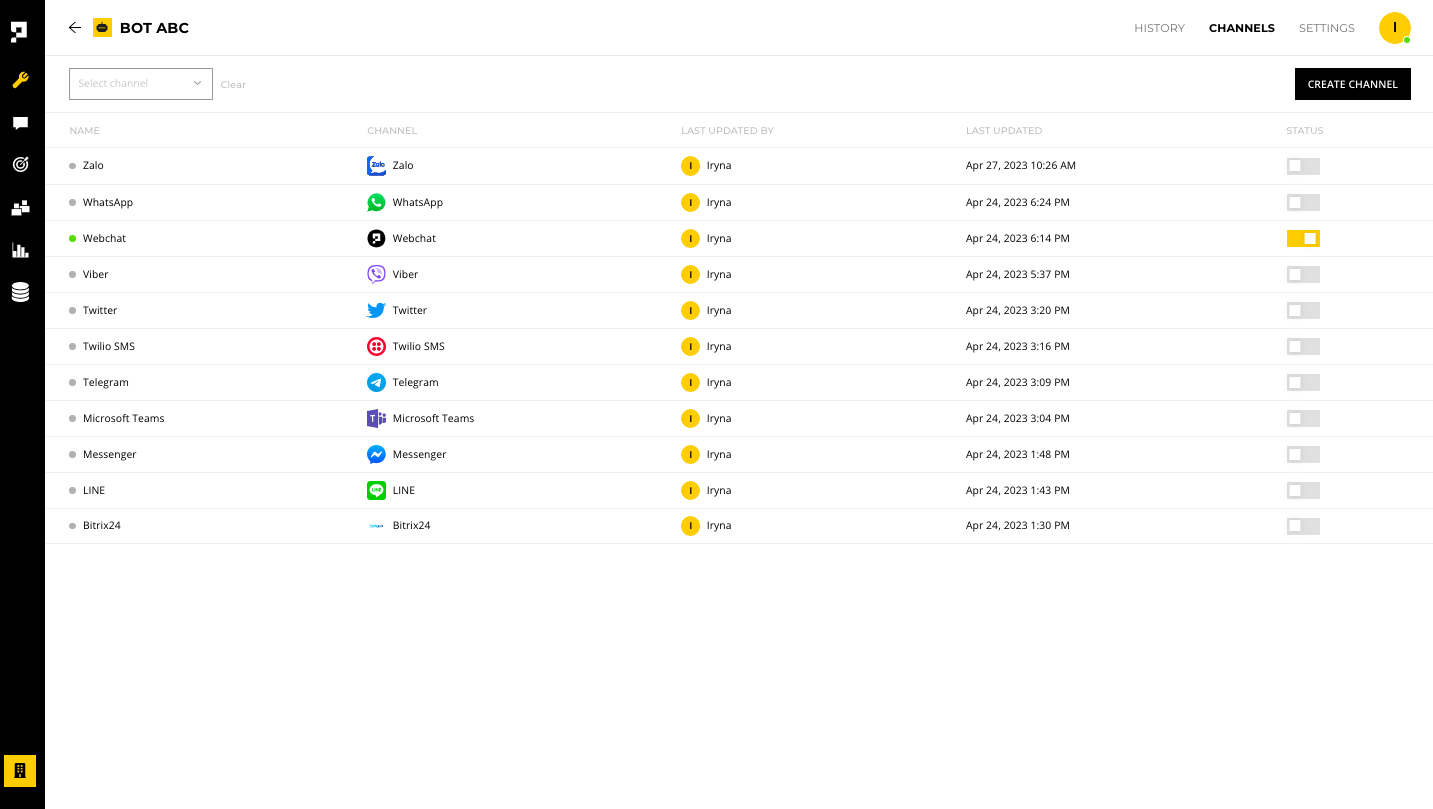
Once you add a Zalo channel, click anywhere on the channel row to configure it.
Requirement
The Zalo channel must be enabled before you test it. To enable the channel, click the STATUS toggle.
Before starting
Before starting, you must have Zalo Official Account.
Settings
Under the SETTINGS tab, you have the following options:
- Enable - make the channel live to the public
- Name - edit the channel name within the AICX platform
- Language - set the default language for customers using this channel
- Testing mode - make chatbot edits live only after when the chatbot is deployed
- Channel ID and Secret - required for the deploy script
- Delete - remove the channel

Important
Once a Zalo channel is deleted, you will need to update the channel webhook information on your Zalo Official Account Console.
Zalo Official Account setup
Complete the following steps to set up your Zalo Official Account:
- Register to create an Official Account, then select the store type

- Create an app to link with your Zalo Official Account by registering in Zalo Developers, and then creating an Application

- Link the Application to the Official Account by selecting the Official Account name in the bottom-left corner and then click Link

Configuration
To configure the Zalo channel:
- Get the following info from your Zalo Developers Console: App ID, Access Token
- Paste the required info into the Zalo CONFIGURATION tab in the Proto AICX platform
- Enable the Webhook URL in your Zalo Developers Console
1. Get the following required information from your Zalo Developers Console
- App ID - go to your Zalo Developer Console, go to Setting, and then copy the App ID

- Access Token - go to your Zalo Developers Console, go to Tools, and then click API Explorer, and follows these steps:

i. Click Application and then click Official Account

ii. Select the box "Agree…" and then click Allow

iii. Copy the User Access Token

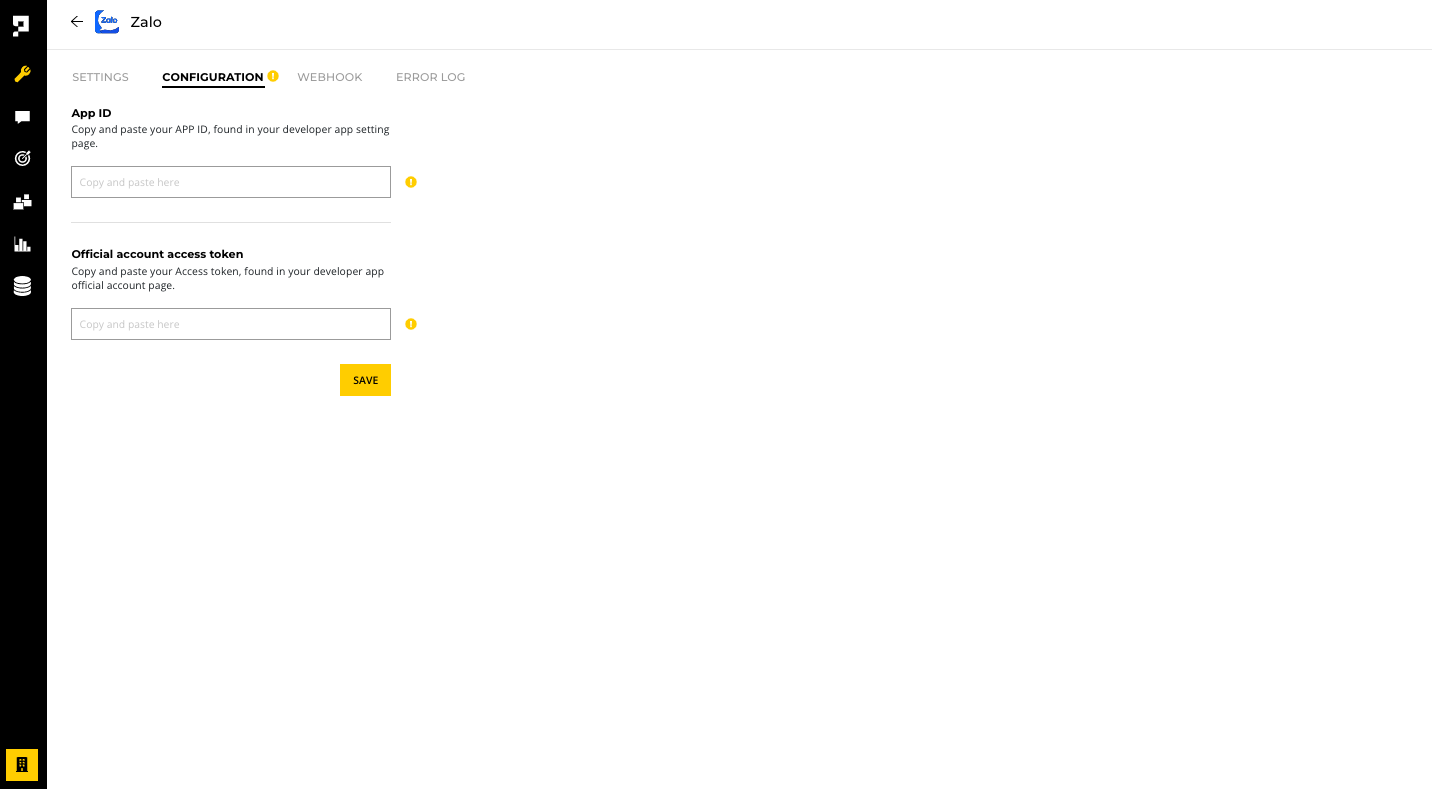
2. Paste the required info into the Zalo CONFIGURATION tab in the Proto AICX platform
- Under the CONFIGURATION tab, paste the App ID and Official account access token from the Zalo Developers Console
3. Enable the Webhook URL on your Zalo Developers Console
- After linking the App ID and Official account access token successfully, the Webhook section will be displayed as below under the Zalo WEBHOOK tab in the Proto AICX platform
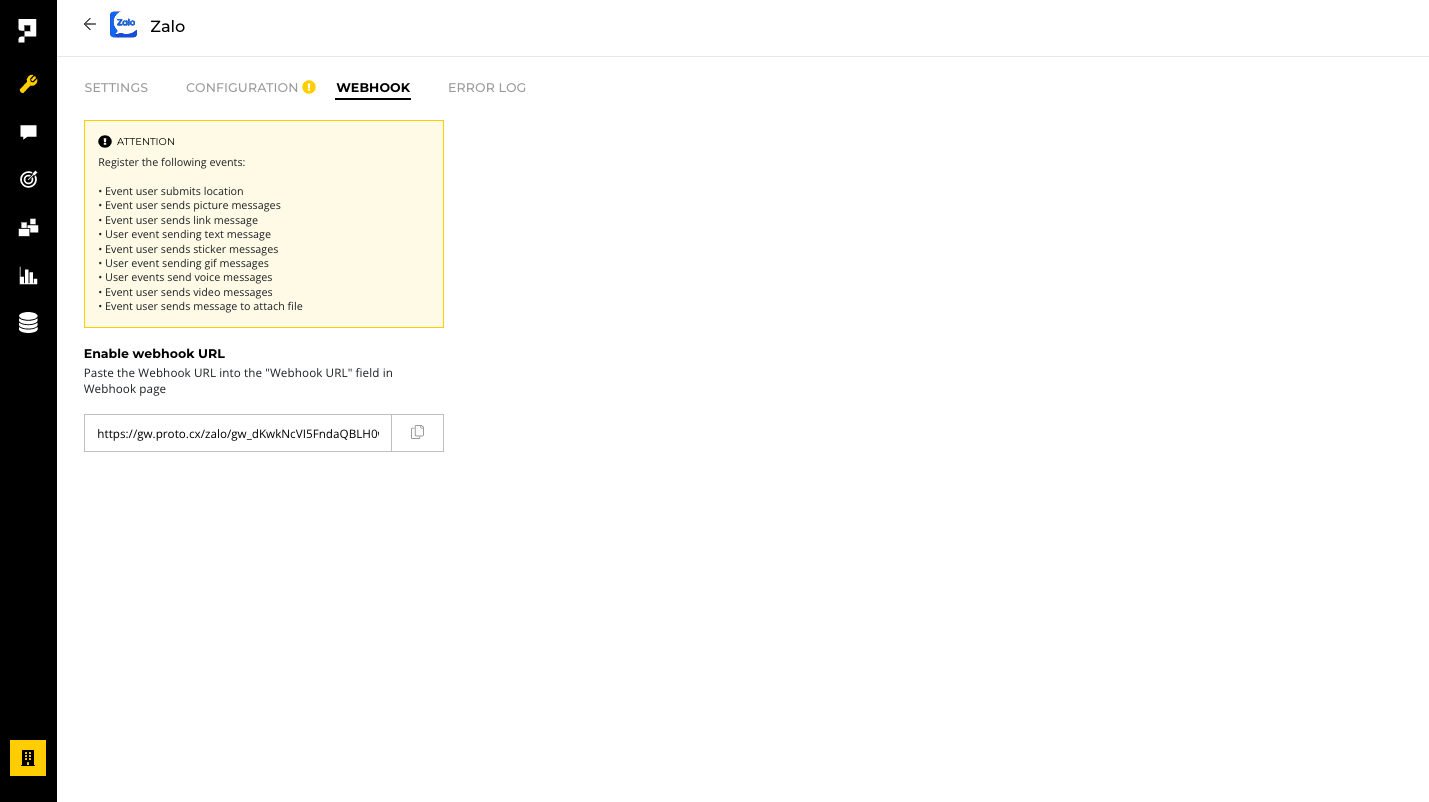
- Copy the Webhook URL
- Go to the Zalo Developers Console, select Webhook under the Product menu in the bottom left corner
- Paste the Webhook URL to the Webhook URL field and click Change
- Under the Update webhook URL pop-up window, enter the copied Webhook URL and click Update

- In the Webhook event list at the bottom of the page, toggle on the following events:
- User event submits location
- User event sends picture messages
- User event sends link message
- User event sending text message
- Event of user sending sticker messages
- User event send gif messages
- User event send voice messages
- User event send video message
- User event sends a message with file attachment

Updated over 1 year ago