
The WhatsApp channel allows chatbots and agents to chat with customers via WhatsApp Business Cloud API.
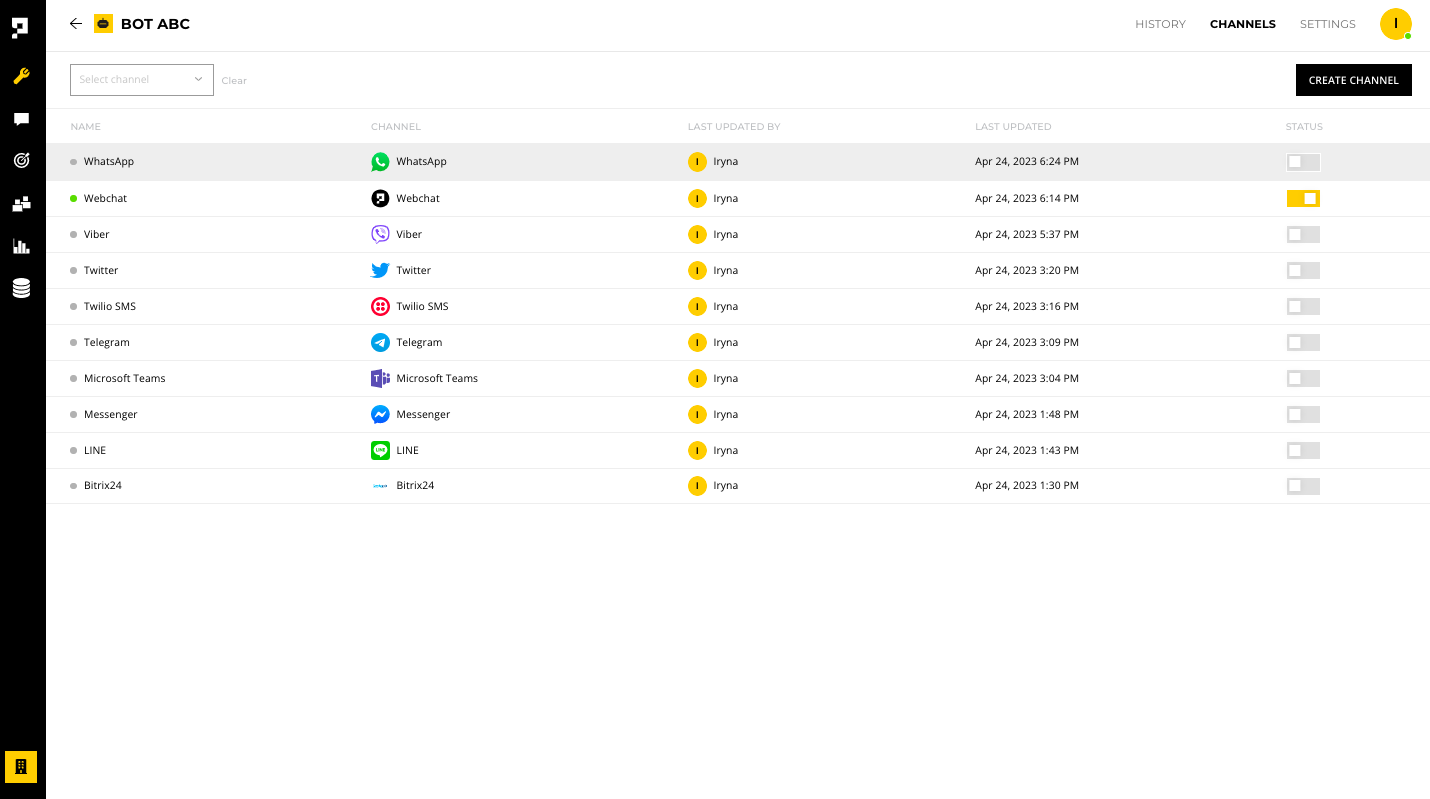
Once you add a WhatsApp channel, click anywhere on the channel row to configure it.
Requirement
The WhatsApp channel must be enabled before you test it. To enable the channel, click the STATUS toggle.
Before starting
Before starting, you must setup a Meta developer account and a Meta app.
Settings
Under the SETTINGS tab, you have the following options:
Enable - make the channel live to the public
Name - edit the channel name within the AICX platform
Language - set the default language for customers using this channel
In development - toggle the slider to make chatbot edits live only after when the chatbot is deployed
App ID - the ID of the Meta App you created for your WhatsApp account (refer to Step 7 below)
App secret - the Meta App secret (refer to Step 7 below)
User Access Token - the Business settings system user access token (refer to Steps 8 & 9 below)
Phone Number ID - the ID of the phone number you added to your WhatsApp Business account
Channel ID - required for the deploy script
Channel Secret - required when you generate the User Access Token (refer to Step 11 below)
Delete - remove the channel
Setup Meta developer account and Meta app
- Register as a Meta Developer
- Enable two-factor authentication for your account
- Go to your Security and Login Settings.
- Scroll down to Use two-factor authentication and click Edit.
- Choose the security method you want to add and follow the on-screen instructions.
- Create a Meta App: Go to developers.facebook.com > My Apps > Create App. Select the "Business" type and follow the prompts on your screen.


- From the App Dashboard, click on the app you would like to connect to WhatsApp. Scroll down to find the "WhatsApp" product and click Set up.

- Next, you will see the option to select an existing Business Manager (if you have one) or, if you would like, the onboarding process can create one automatically for you (you can customize your business later, if needed). Make a selection and click Continue.

- When you click Continue, the onboarding process performs the following actions:
- Your App is associated with the Business Manager that you chose, or that was created automatically.
- A WhatsApp test phone number is added to your business. You can use this test phone number to explore the WhatsApp Business Platform without registering or migrating a real phone number. Test phone numbers can send unlimited messages to up to 5 recipients (which can be anywhere in the world).
After that, your browser navigates to the Getting Started tab, where you can learn about and experiment with the WhatsApp Business Platform. The Getting Started tab contains tools and information to help you send test messages. It can be used with test phone numbers and any of your own phone numbers that you register.
- Copy the App ID and App Secret from the Dashboard of the App you created > Settings > Basic. Paste it on the WhatsApp channel you created on Proto's platform.

- Copy the User Access Token from the your Business Manager Dashboard you created. Select the business that was connected with your Meta App and WhatsApp Account. If you haven't have a System User, click on Add button to add an ADMIN system user to your Business Account.
Note
We recommend using the ADMIN role in the System User for your production deployment. See About Business Manager Roles and Permissions for more information.
- Now you are ready to generate your token. In the system user main screen, check if the Meta App you created are listed under Assigned Assets. If not please select Add Assets and add the app for system user. Click Generate Token and select your Meta App. After selecting the app, you see a list of available permissions. Select whatsapp_business_management, whatsapp_business_messaging, and business_management. Click Generate Token. Paste the generated token on the User Access Token field on Proto's platform.

- Once you have a phone number that is ready to be use, connect your phone number to your WhatsApp account.
- Go to Business Manager and select your business.
- Click the 三 3 lines on the top left corner.
- Go to the Engage customers section.
- Click WhatsApp Manager.
- Select the WhatsApp Business account that you want to set up a phone number for.
- Navigate to the left-most menu and click Phone Numbers.
- Click Add Phone Number.
- In the Business profile section, enter your WhatsApp Business display name and the category of your business. Your customers will see the display name when they receive messages from you. Then, click Next.
- Enter the phone number for your business and choose how you'd like to verify your number. Then, click Next.
- Enter the verification code.
- Add the new phone number to your phone number list. The certificate for this phone number will be provided based on your current account status:
- If your business isn’t verified, your display name is ready and the certificate is available for download immediately.
- If your business is verified, your phone number will be pending in review. Once it’s approved, you’ll see a View button. You can click it to see the available certificate for the phone number.
- Please refer to the documentation here if you would like to apply for an Official Business Account (with green checkmark beside the displayed) for your phone number.
- Copy the Phone Number ID from your App Manager > WhatsApp > Getting Started and paste it on the Phone Number ID in Proto's platform.


Note
Display name review will no longer be needed to get started on the WhatsApp Business Platform. However, if you look to increase messaging limits, you have to complete your business verification. Display name review will be initiated after the business verification is completed. Businesses should still follow the display name best practices when adding a new phone number.
Reminder
- If you want to use a number that is already being used in the WhatsApp customer or business app, you will have to fully migrate that number to the business platform. Once the number is migrated, you will lose access to the WhatsApp customer or business app. See Migrate App Phone Number to Business Platform for more information.
- Meta have a set of rules regarding numbers that can be used in the platform. Learn more.
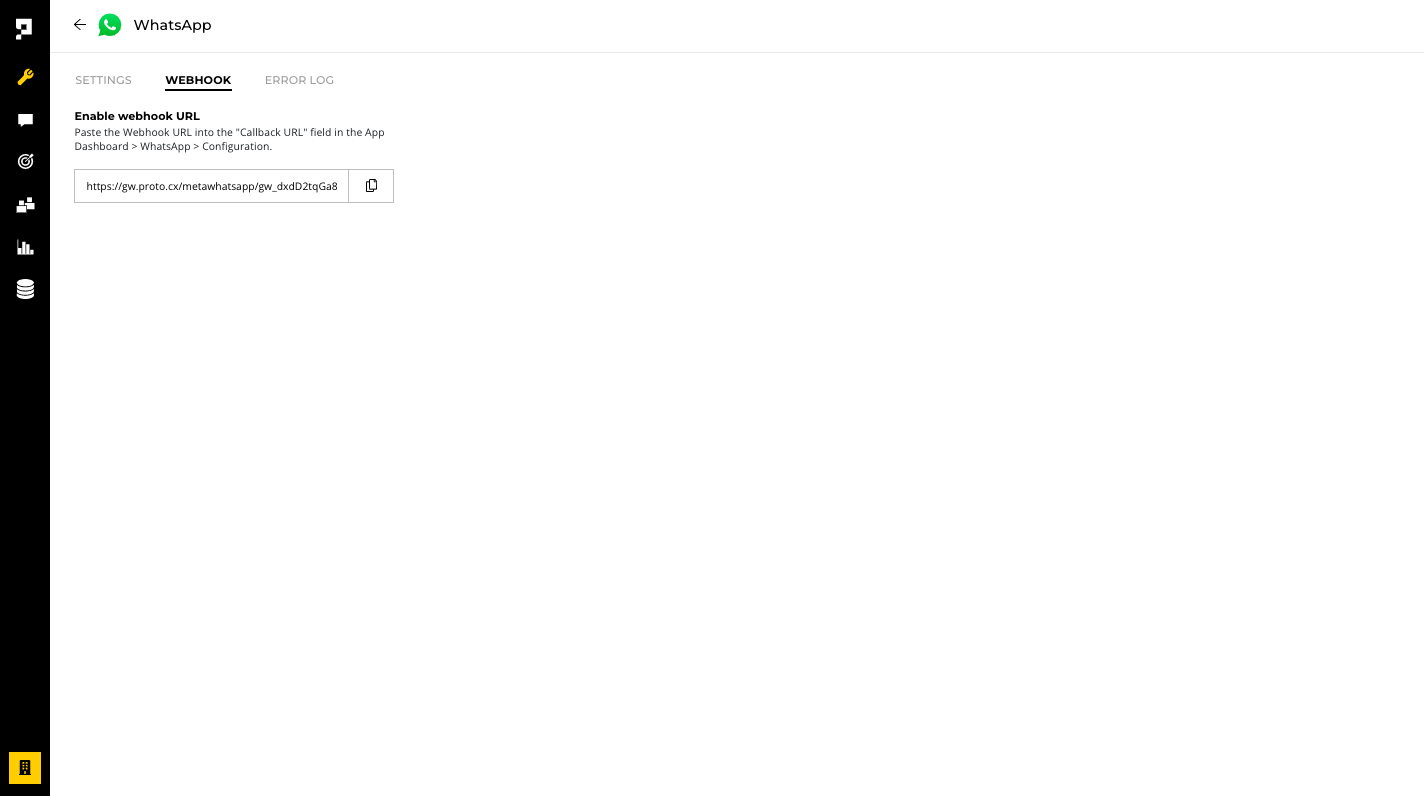
- Configure a Webhook.
- Go to your App Dashboard.
- In your App Dashboard, find the WhatsApp product and click Configuration. Then, find the webhooks section and click Edit. After the click, a dialog appears on your screen and asks you for two items:
- Callback URL: Please copy the Webhook URL from Proto's platform WhatsApp channel > Webhook tab and paste in this field.
- Verify Token: Please copy the Channel Secret from Proto's platform WhatsApp channel > Settings tab and paste in this field.
- After adding the information, click Verify and Save.
- Back in the App Dashboard, click WhatsApp > Configuration in the left-side panel. Under Webhooks, click Manage. A dialog box will open with all the objects you can get notified about. To receive messages from your users, click Subscribe for messages.

In your App Dashboard, find the Webhook product, Subscribe to the messages webhook.

Opt-In
Businesses are required to obtain opt-in before sending proactive business-initiated messages to customers outside the 24-hour window. Businesses can obtain opt-in in a multitude of ways, both on and off WhatsApp. Opt-in methods such as via your website, interactive voice response (IVR) flows or in a WhatsApp thread are acceptable. See Get Opt-In for WhatsApp for more information.
Pricing & Payment Methods
Businesses are charged per conversation by Meta (Proto is not responsible for the charges of the messages sent), which includes all messages delivered in a 24 hour session. The first 1,000 conversations each month are free. If you want to send more than 1,000 conversations, you need to add a credit card to your Meta Business account.
To set up a payment method, go to App Dashboard > WhatsApp > Configuration. Under Phone numbers, click Manage phone numbers. This leads you to your Business Manager account, where you can click Add Payment Method to add your credit card.
For more information, see Add a Credit Card to Your WhatsApp Business Platform Account
Business Initiated Messages
To send more business-initiated messages, you need to use message templates. WhatsApp message templates are specific message formats that businesses use to send out notifications or customer care messages to people that have opted in to notifications.
Before sending a message template, you need to create one or you can use one of Meta pre-approved templates. Check this guide to learn how to send message templates.
Incoming messages are unlimited, but there are limits for outgoing messages. See Messaging Limits for more information on messaging tiers.
Updated over 1 year ago