
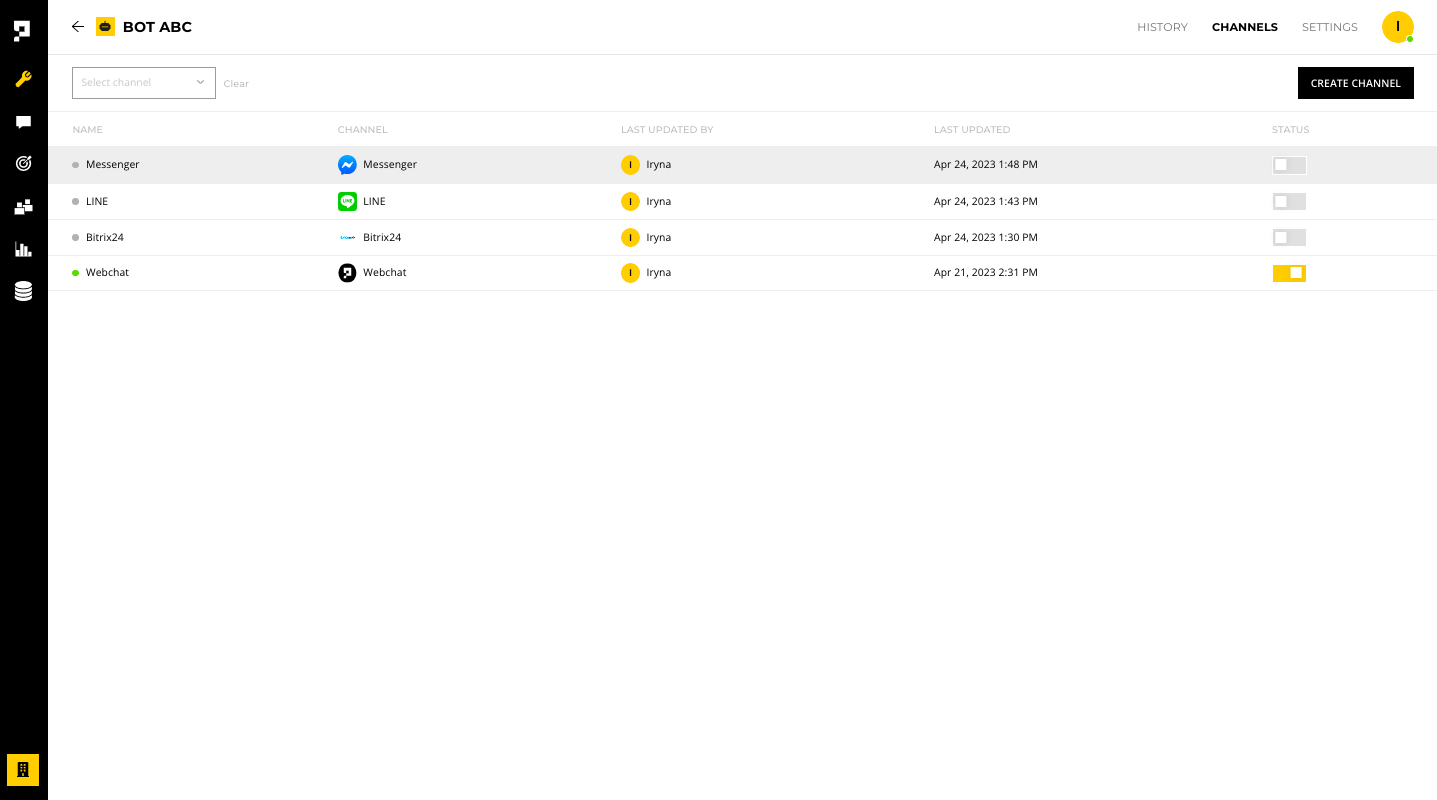
Messenger
The Messenger channel allows chatbots and agents to chat with customers via Facebook Messenger.
Once you add a Messenger channel, click anywhere on the channel row to configure it.
Requirement
The Messenger channel must be enabled before you test it. To enable the channel, click the STATUS toggle.
Before starting
Before starting, you must have a page for your Facebook Business account.
Settings
Under the SETTINGS tab, you have the following options:
- Enable - make the channel live to the public
- Name - edit the channel name within the AICX platform
- Language - set the default language for customers using this channel
- In development - make chatbot edits live only after when the chatbot is deployed
- Channel ID and Secret - required for the deploy script
- Delete - remove the channel
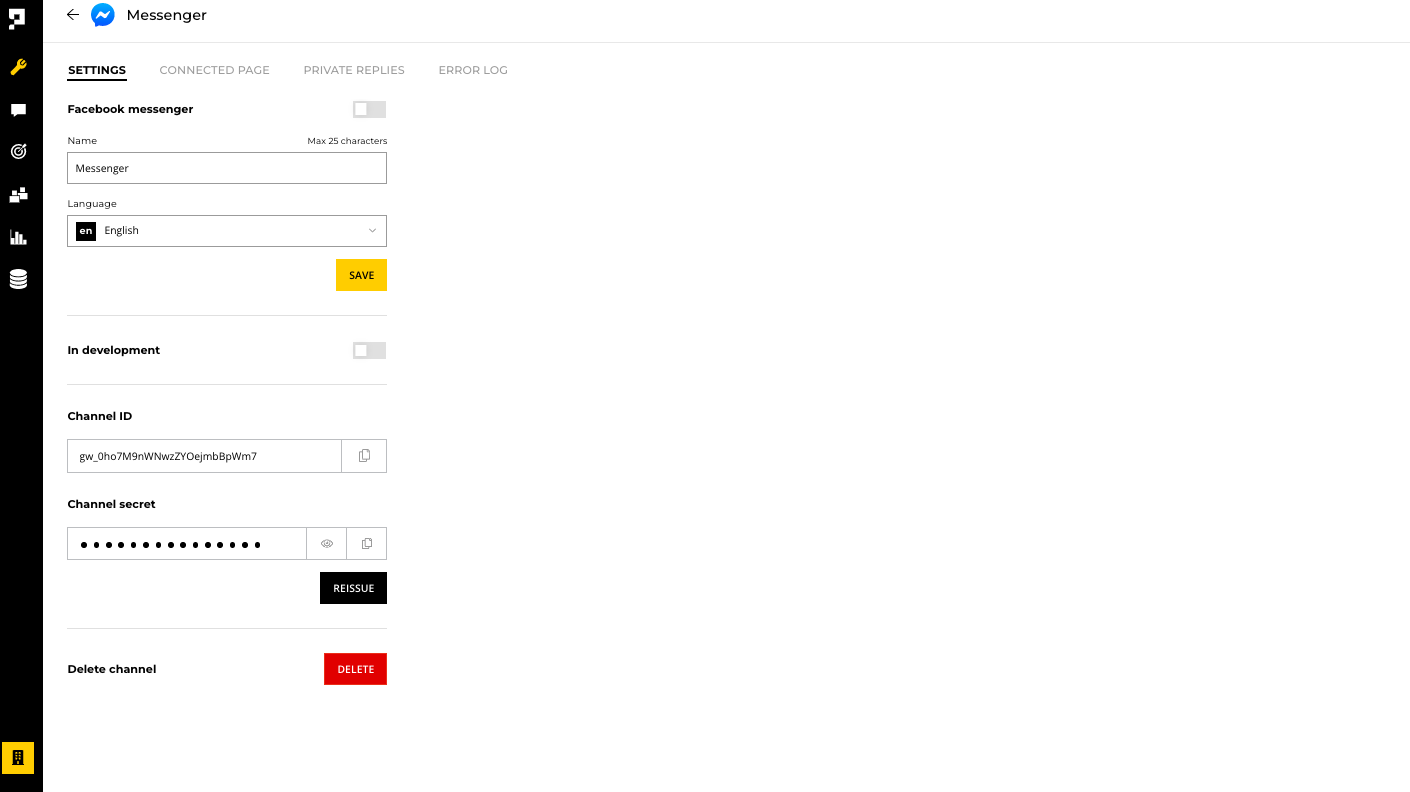
Important
Once a Messenger channel is deleted, you will need to reconnect your Facebook page to a new Messenger channel.
Reminder
Once the channel is set to Live, please make sure you click the Deploy button every time you made changes on the bot.
Configuration
To configure your Messenger channel:
- Create a Facebook page on your Facebook business account.

- When your Facebook page is set up, go to your Messenger channel on the Proto AICX platform. Under the CONNECTED PAGE tab, click Login with Facebook.
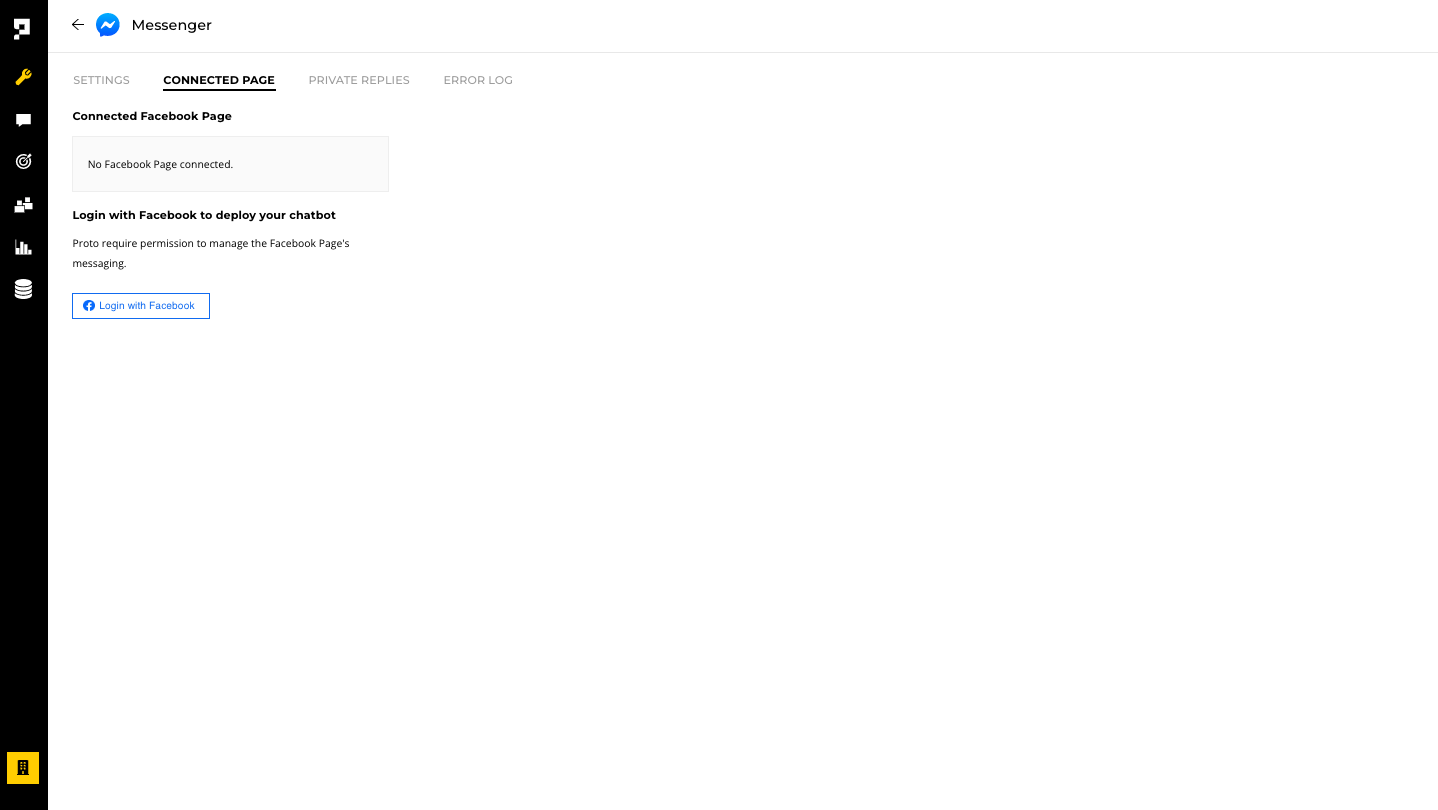
- Log in to the Facebook account to be linked to the chatbot.

- After logging in, the pages linked to the Facebook account will appear under the CONNECTED PAGE tab. Click CONNECT on the selected Facebook page.

Requirement
Make sure your Facebook page is published in order for customers to use the chatbot.
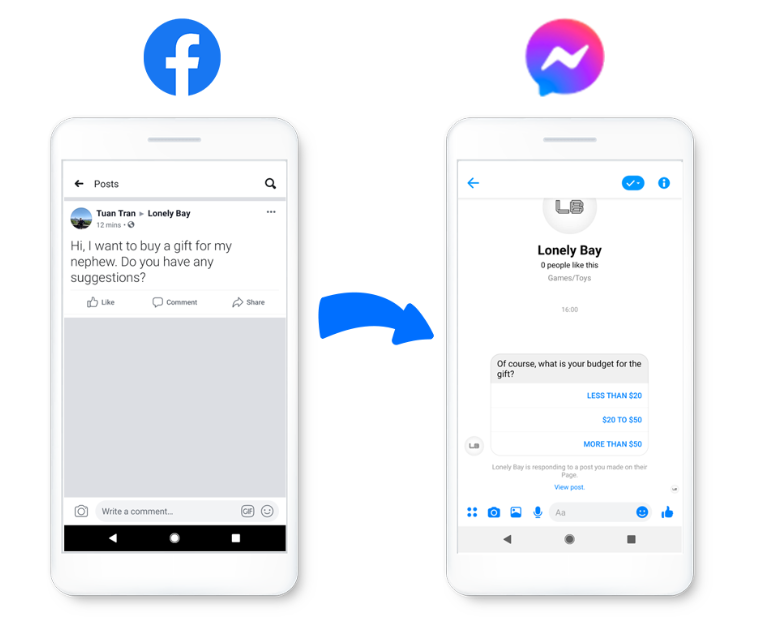
Private Replies
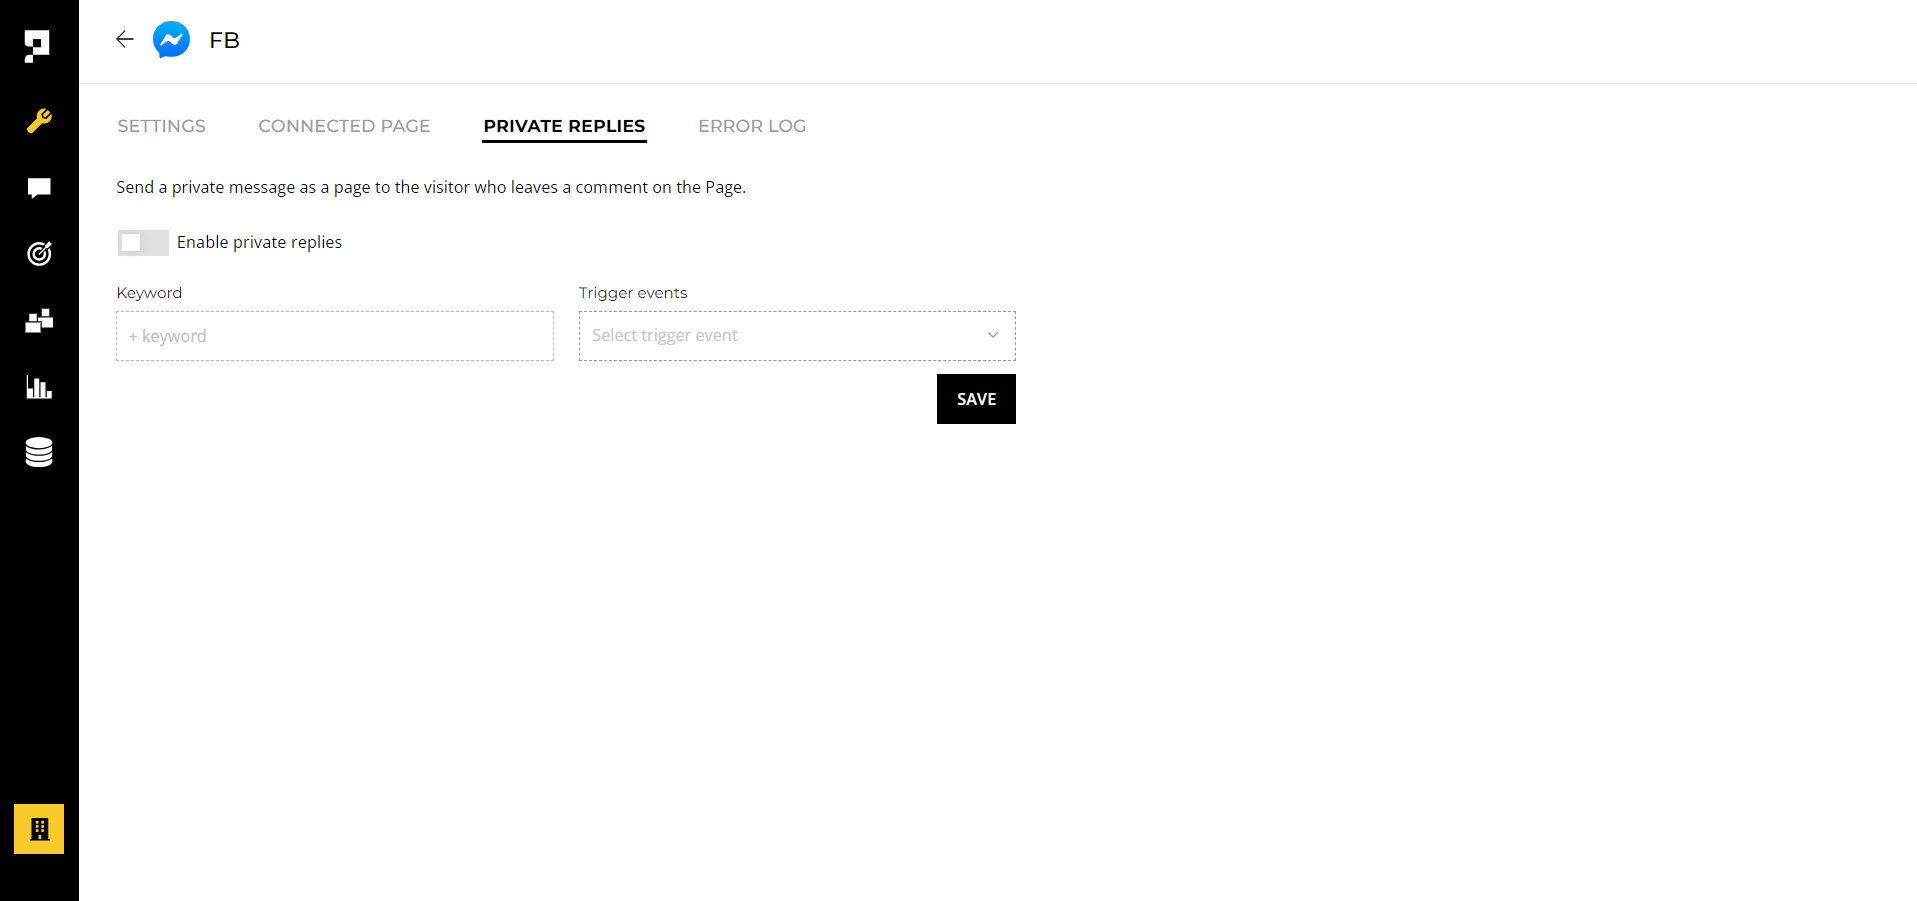
Private Replies allows a business to send a single message to a person who published a post on your business' Facebook Page or who commented on a post or comment on the business' Facebook Page or Group. The message will contain a link to the post or comment that the person published.
To activate private replies:
- Navigate to the chatbot Build page and configure a Trigger block. Include the message you want to send when the keyword is identified.
- Specify the keyword/s you want the bot to recognize and choose the associated Trigger block you created.
- Turn on the Enable Private Replies option.
- Save your settings by clicking the SAVE button.
Limitations
- Only one message can be sent to the person who commented.
- Only when a person responds to the private message can the bot continue the conversation within the 24-hour messaging window.
Updated 8 months ago